How to Sight in a Multi Pin Bow Sight - 3 Steps to Success
By Josh Kirchner
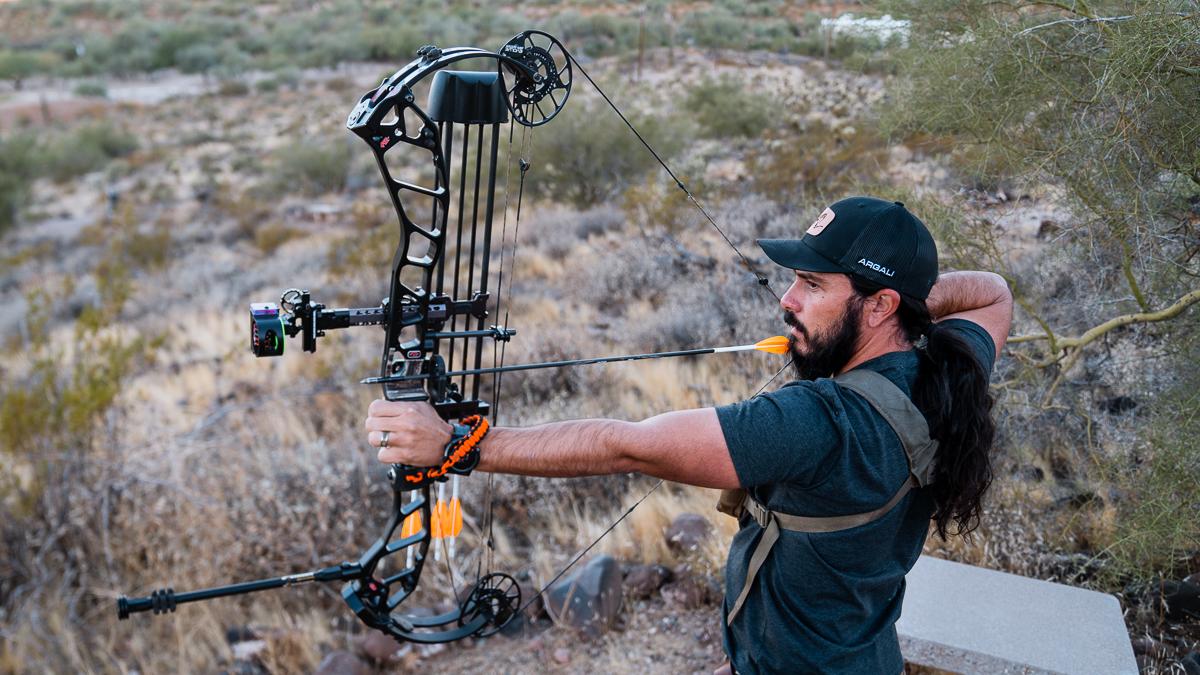
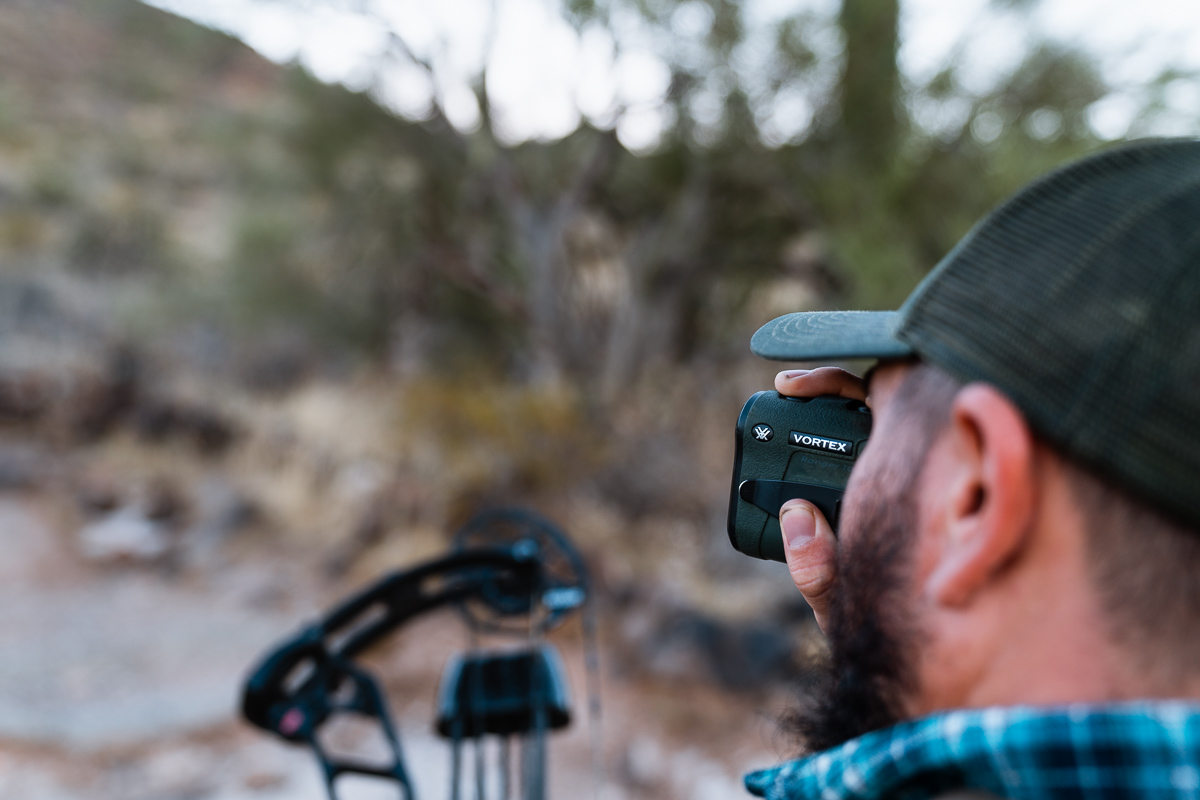
Knowing how to sight in your own bow is one of the most key and fundamental skills a bowhunter can have. And while these fancy bow sights may look intimidating, the road to getting them dialed isn’t as bumpy as it may seem. With some practice and basic knowledge anyone can get their bow sighted in with nothing more than an allen wrench, target, rangefinder, and a little patience. Watching arrows pummel a bullseye all by your doing, is a pretty good feeling. Not to mention the confidence it’ll give one heading into the field.
For the sake of this article we are going to talk about how to sight in a multipin bow sight, as that is the most common choice among bowhunters. Each pin is sighted to a desired yardage. A common configuration for a 5 pin sight is 20, 30, 40, 50, and 60 yards. It’s pretty typical to have 10 yards between each pin, but there are those that may extend that to even 20 yards. 20 yard gaps are more common in 3 pin sights. In that case an example of a 3 pin sight would be 20, 40, and 60 yards.
A Few Things to Take Care of Before Sighting In
Before we dive head first into how to sight in a bow, there are a few things that should be taken care of ahead of time. These are very basic, but necessary in order to get a good sight in.
To start, make sure that your bow is set up and tuned to you and you alone. When I say “set up” I’m referring to proper draw length, desired draw weight, proper peep height, and a calibrated bubble level. And when I say “tuned” I’m talking about just being paper tuned, which is when one shoots an arrow through paper resulting in a bullet hole in said paper. If the result isn't a bullet hole, then that means your arrow isn't flying straight out of your bow, which is no bueno for sighting in. For consistent arrow flight, and a good sight in, that arrow needs to be flying true. Whether one does this themselves or in a pro shop, these things are crucial for sighting in a bow as changing any of them will have an influence on your sight in after the fact.
Basic Adjustments on a Bow Sight
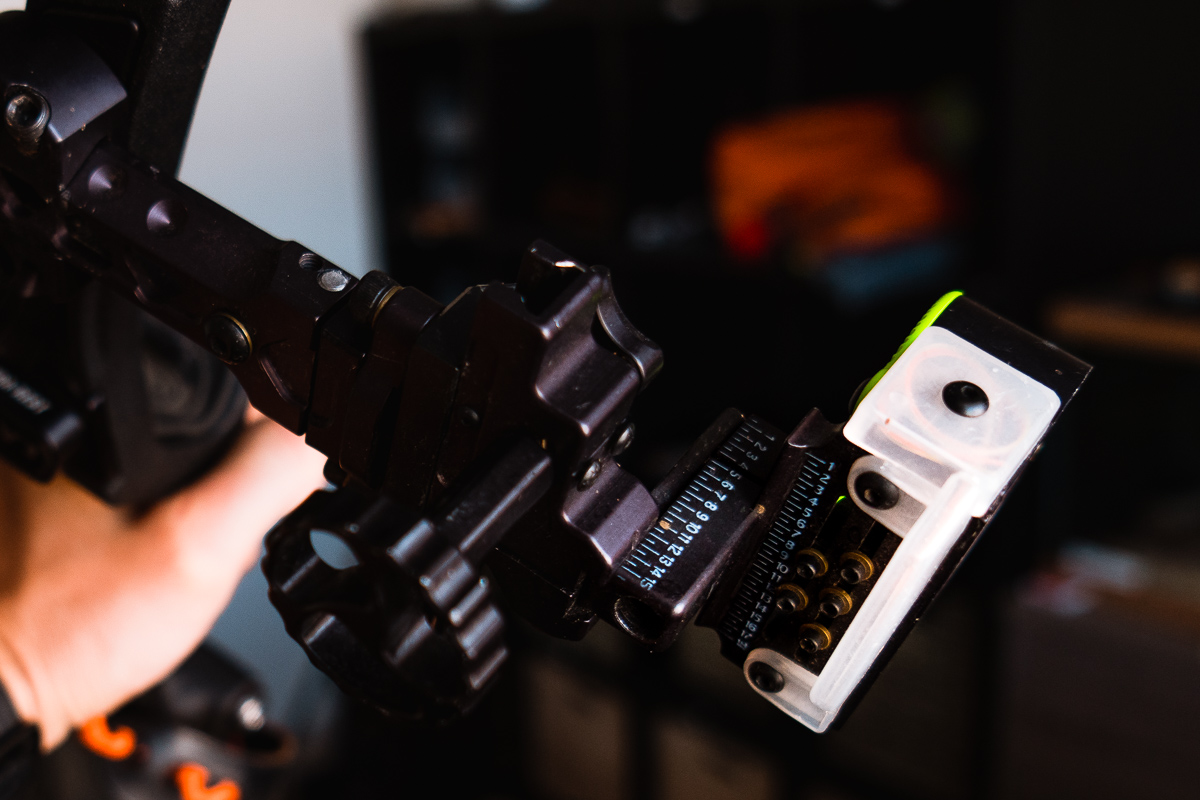
Each bow sight is a little bit different, but the overall adjustments are largely the same. You’ll have a housing adjustment for elevation as well as windage. These will move the whole sight up, down, left, or right. Then there are also adjustments to individual pins that one can make up or down. All of these adjustments can be made with an allen wrench. Just loosen the screw, make the adjustment, and tighten the screw back up.
Step 1
Now, you’re ready to start the process of sighting in. The first thing you’ll want to do, before even shooting, is move your top pin towards the top of the sight housing. It doesn’t have to be all the way at the top, but you definitely don’t want it in the center like it comes out of the box. The reason for this is ensuring that you’ll have room to adjust the rest of the pins below it, and actually reach your desired bottom pin’s yardage. Go ahead and move the rest of the pins up towards the top as well just so you don’t take out a street light once starting to sight in your second pin.
Step 2
No matter if you want your top pin to be 20 yards or 30 yards, start this shindig off at 10 yards. This is mainly to make sure you’re on target and the neighbor’s cat is indeed safe from any rogue arrows. Shoot 3 arrows and take note of where they are in relation to your aiming point. Always shoot 3 to show any pattern there may or not be. We aren’t perfect, so sometimes we just plain mess up.
A quick note on sighting in at 10 yards. If you want your top pin to be set for 20, then you should be a few inches high at 10 yards. For 30 yards, you should be right in the bullseye at 10 yards.

Base your adjustment off of the arrows that are grouping the closest and disregard the "flyer" that may happen from time to time. Again, sometimes we just mess up, so that needs to be taken into consideration throughout this process. Are the arrows right, left, high, or low? Whichever direction they are, move your whole sight housing in that direction little by little. Notice that I didn't say move your pin to sight in your twenty yeard pin. Once you have moved your twenty yard pin to the desired point in your housing, you will move your entire sight housing to sight it in.
A little goes a long way here, so keep these adjustments small. So, for left hits, move the housing to the left. High? Move it up. Low and right? Move it down and to the right. Do this incrementally until your arrows are hitting what you’re aiming at.
From there move back to your desired top pin’s yardage(example: 20 or 30 yards) and repeat the process until those arrows are in the center of your aiming point.
Don't be too critical on yourself when doing this. We are not all professional archers. If you shoot a group with one arrow dead center bullseye, another just to the left, and another just to the right, you're fine and no adjustment is needed. What we're looking for here is consistency. If most, or all, of those arrow were just off center to the left, then we'd made an adjustment.
Step 3
It’s time to step it up, or I should say “step it back.” Head to the desired yardage of your second pin and take 3 shots and see where they go in relation to the aiming point. If they are high or low, move the individual pin up or down in the direction of the arrow. So, for high hits, move the pin up, and for low hits, move the pin down. Again, a little goes a long way here, so keep your adjustments small, and go little by little. Do this until those arrows are covering up the bullseye. Repeat this process with the rest of your pins.
As one steps back farther and farther, they may notice that there may need to be a windage adjustment. Move the whole sight housing left or right in order to take care of this. We can only see so much from a mere 20-30 yards. As we step back, fine tune adjustments may be in order. I’m talking fine too. If you’re hitting 4-5 inches left at 60 yards, move your housing a pinch(1/16″) to the left at a time. These small adjustments won’t have an impact on shorter shots. You’ll watch your arrows drift towards the center at longer ranges though.
Take Your Time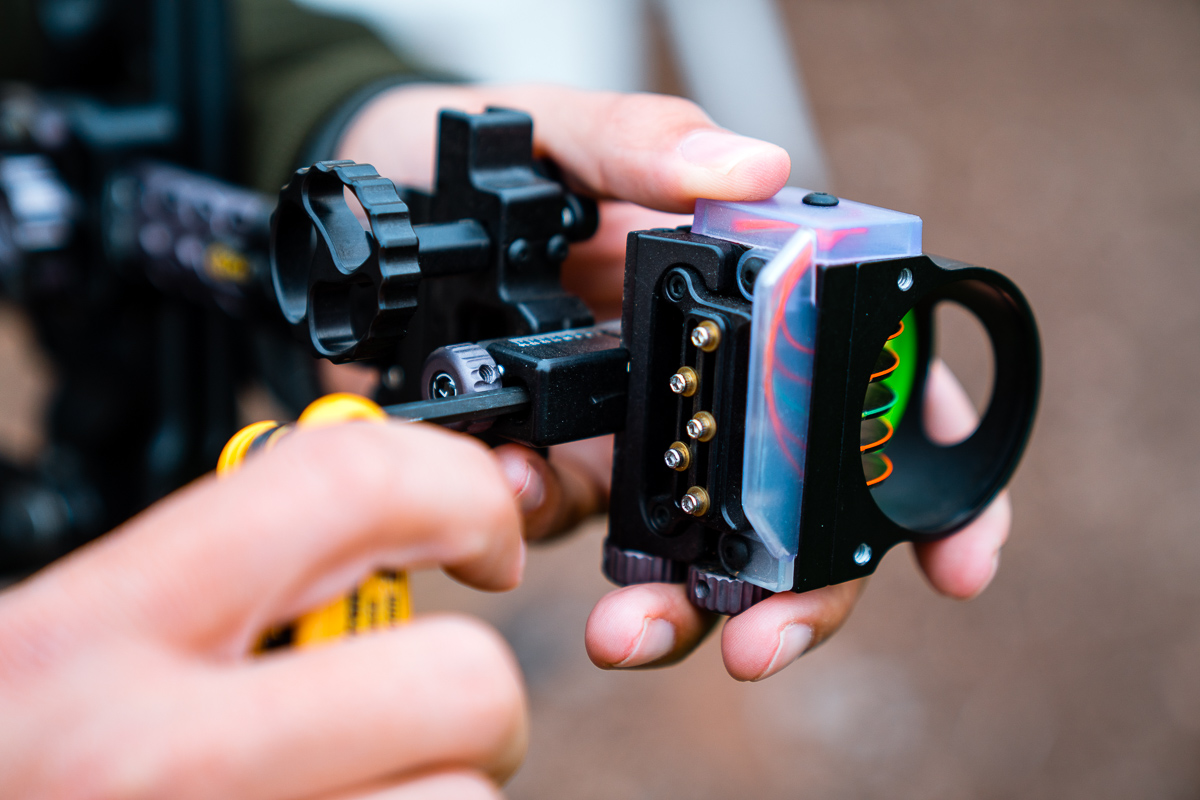
If you are new to shooting a bow, you’ll be using muscles that probably don’t get a whole lot of use. Because of this, fatigue will happen. When we get fatigued our performance is going to go right down the tubes. This isn’t when one should push through and force the sight in process. Don’t fight the fatigue, just pick your bow back up the next day and start where you left off. If not, there is the potential to actually be adjusting your sight to an inconsistency on your part in terms of your shooting. I know for me, my left arm gets tired after a bit and starts dropping on the shot. This causes low hits. In my early years of archery I never realized this and would end up moving my sight down a tad, because my arrows were low. The next day, I was now all of a sudden hitting high. That was me adjusting to a mistake on my part.
Ready to Rock
When I was a kid, we’d sight in our top pin and then eyeball the rest of them and call it good. That’s a true story and one that never ended with us killing anything. I’ve ran across an astounding number of people that never actually took the time to sight in their bow fully. Call it intimidation or call it laziness. Bowhunting is thick with unknowns. Things left to chance. The sight in of one’s bow is not something to simply leave to chance though. It’s something that can easily be taken care of by you and you alone. By doing so, you’ll head right into hunting season more confident than ever, knowing that your bow is just as ready as you are.